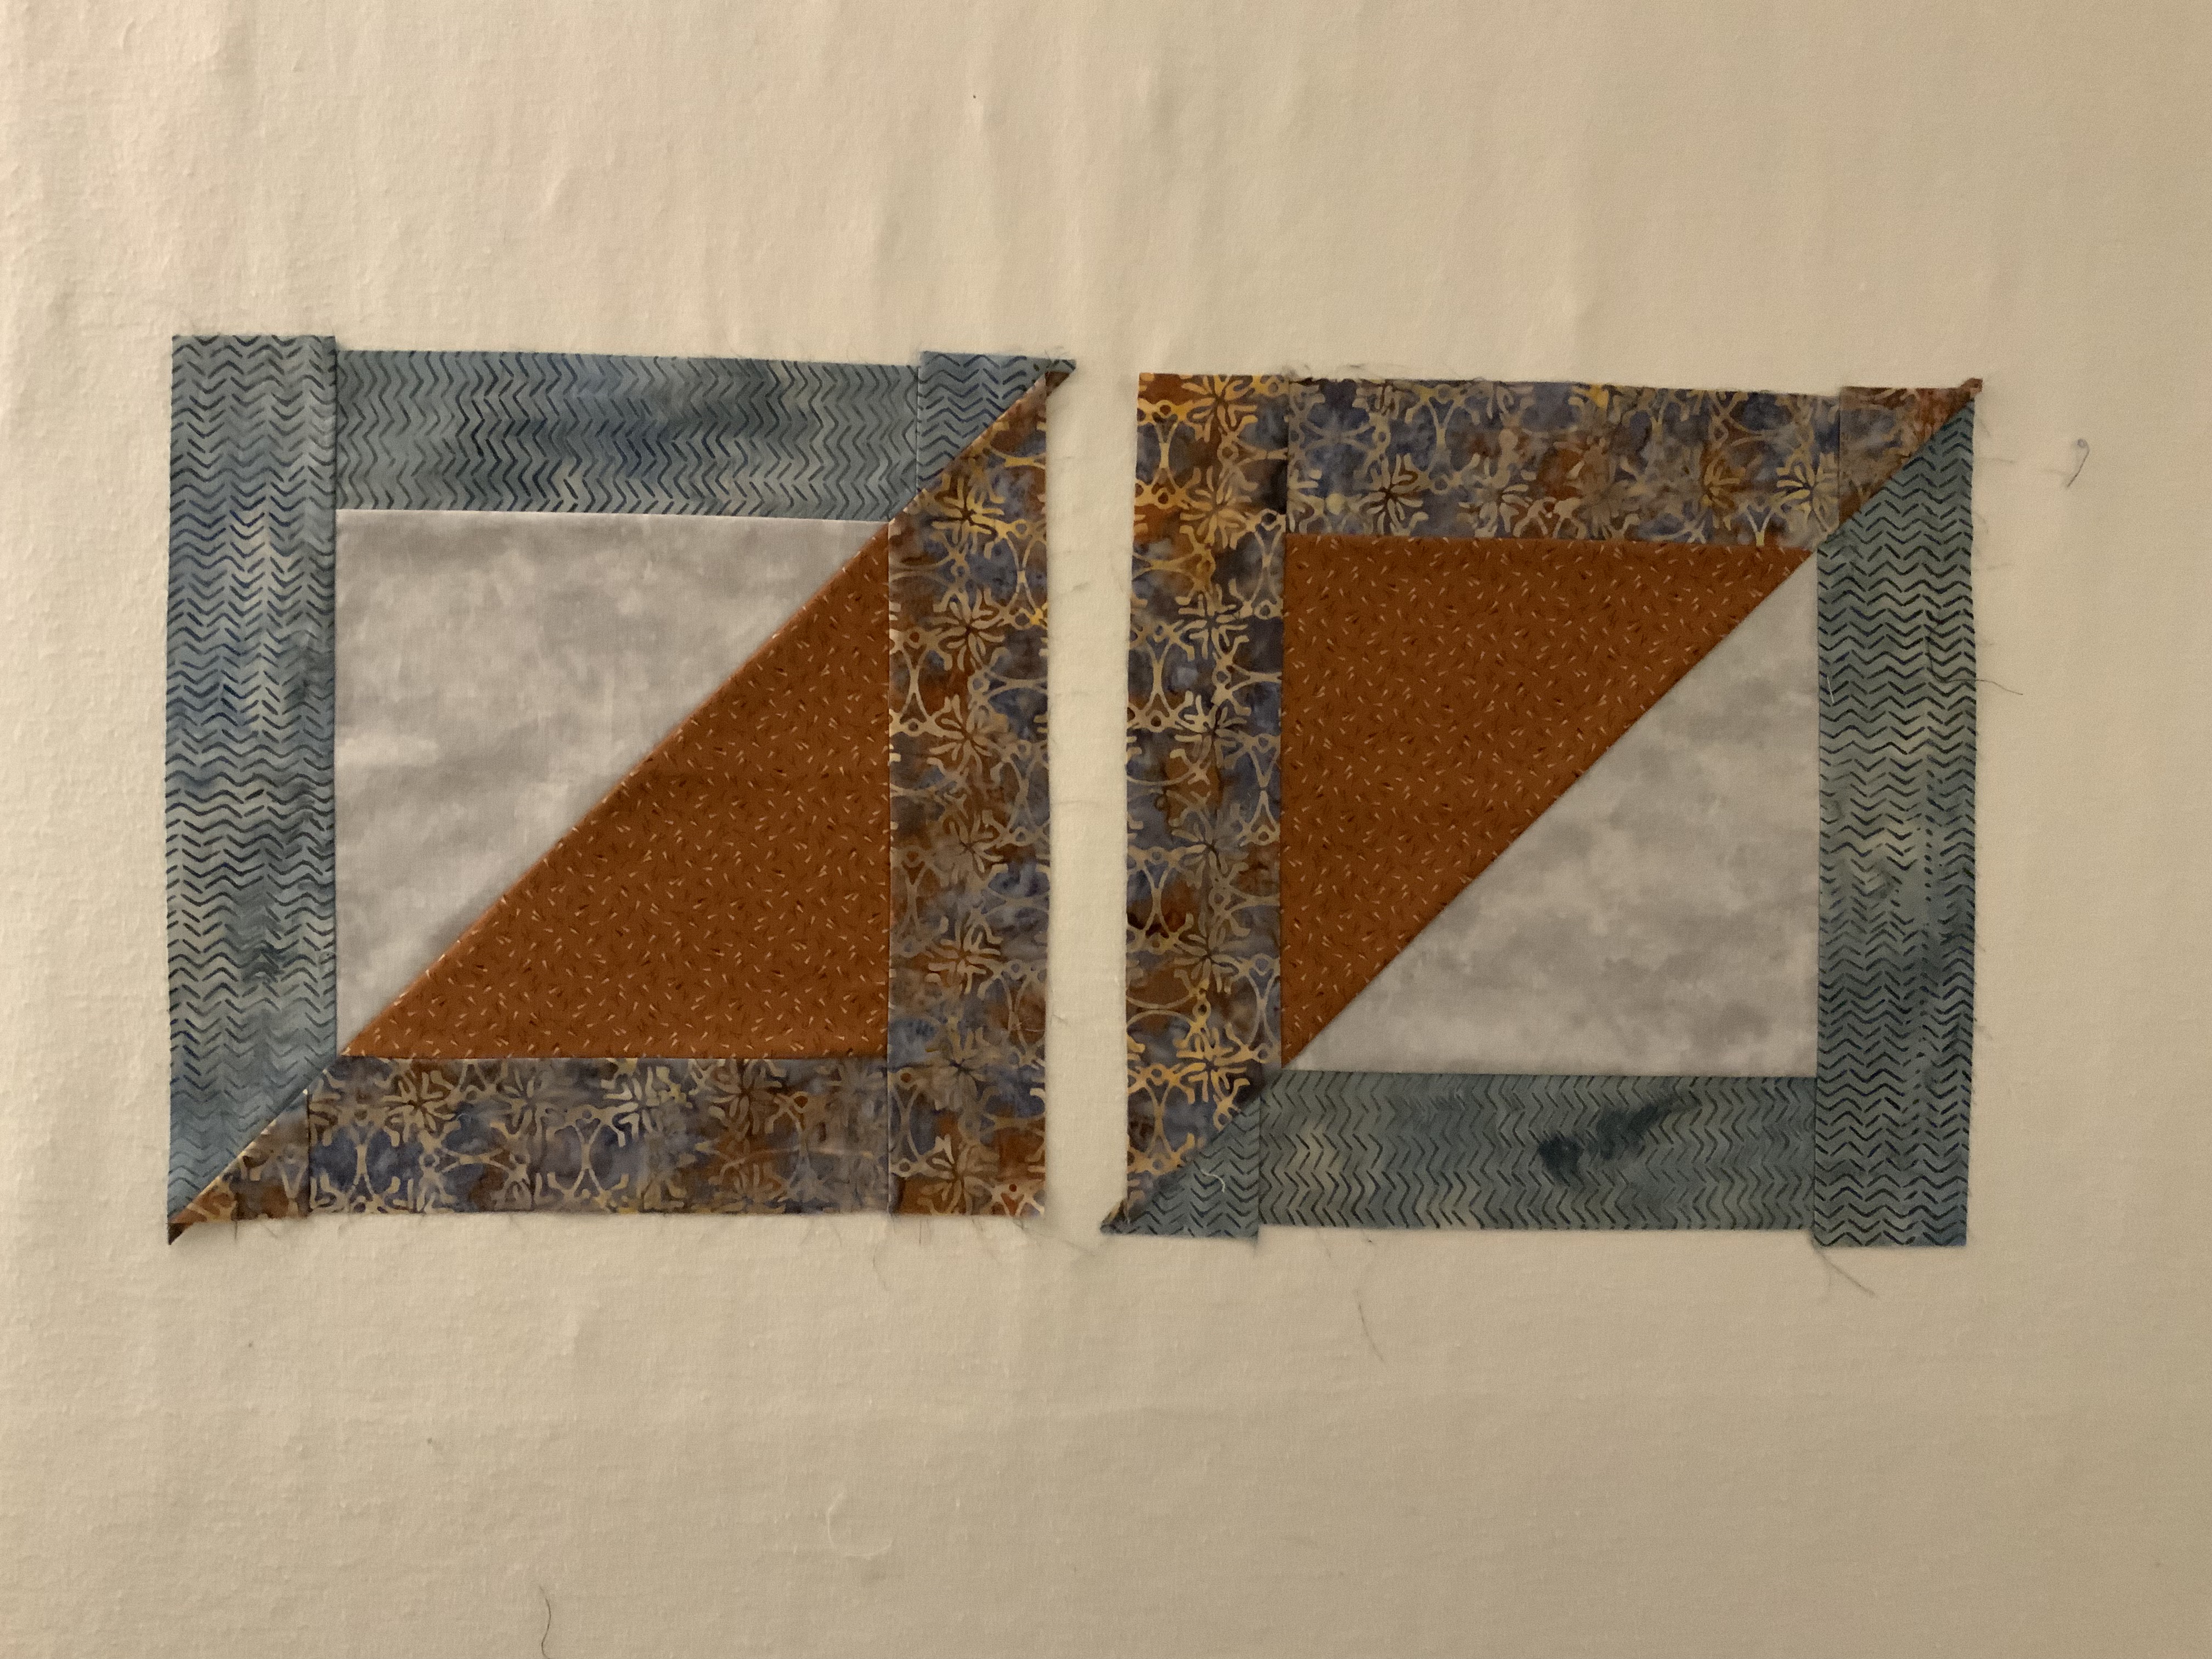
2 -> 2 HST
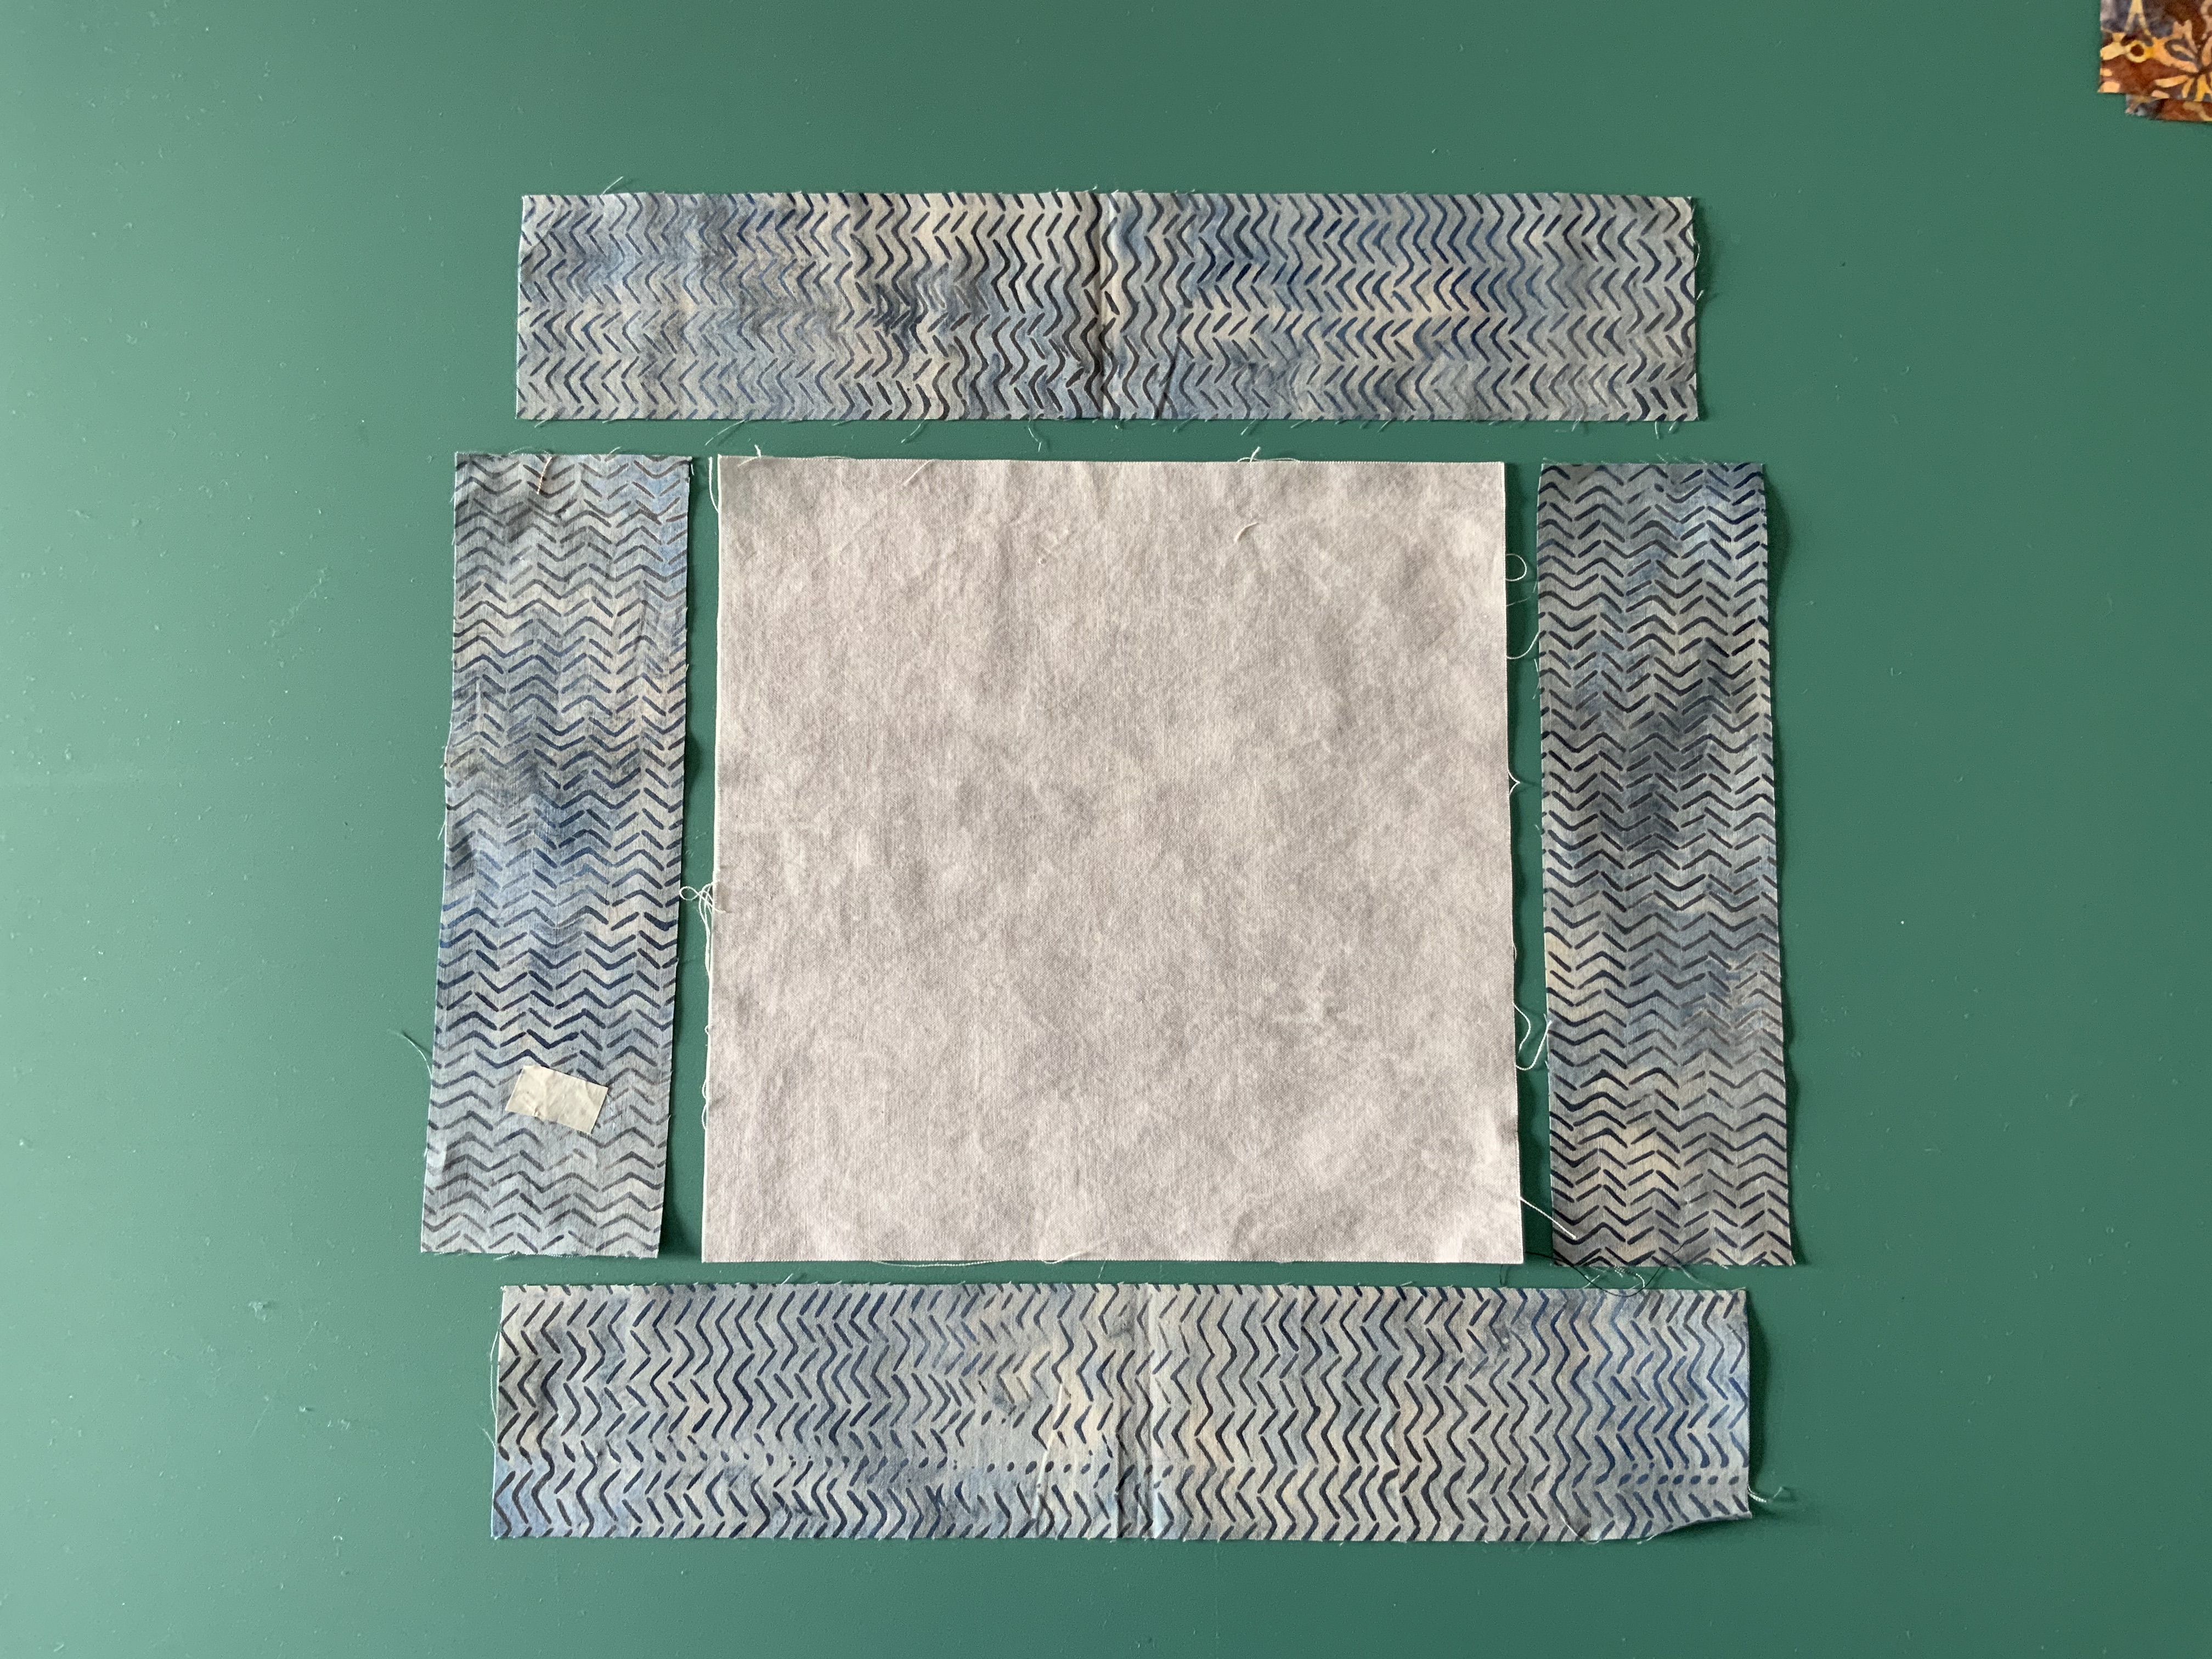
MATERIALS FOR 2 BLOCKS
- 2 – 9″ squares
- 2 – 2 5/8″ x 9″ strips in one fabric and 2 in another fabric
- 2 – 2 5/8″ x 13 strips in one fabric and 2 in another fabric
MAKE YOUR BLOCKS
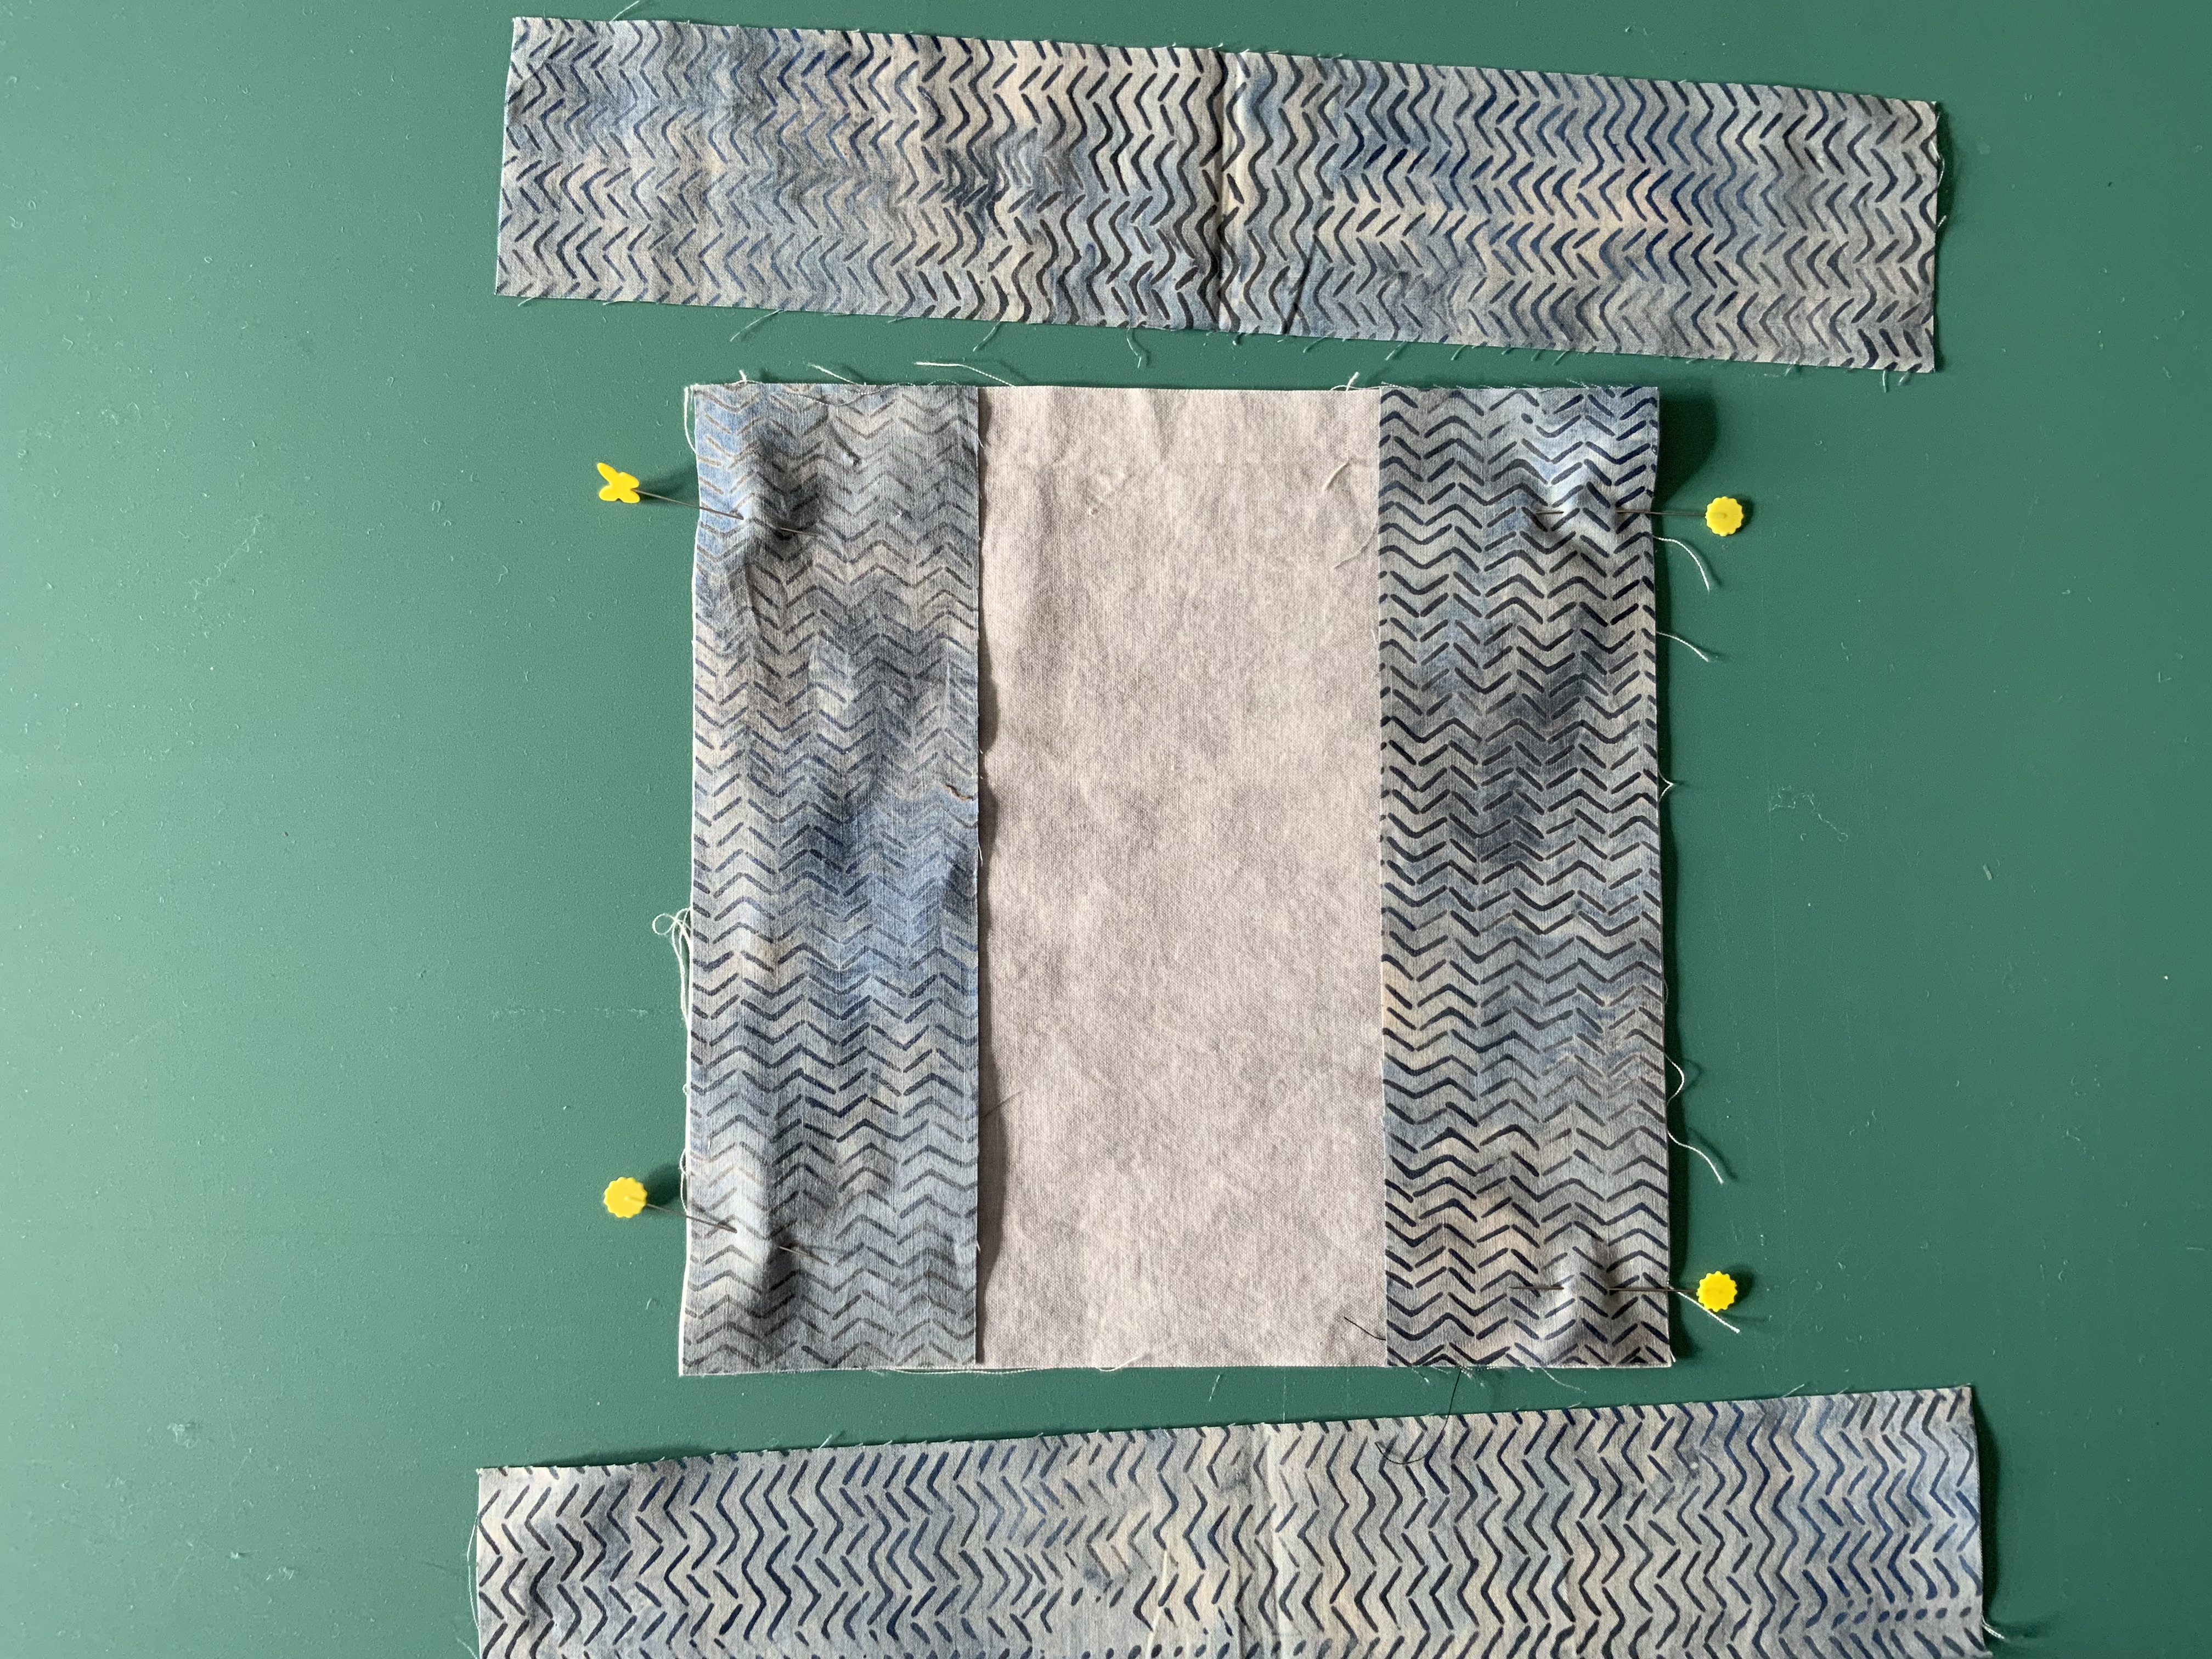
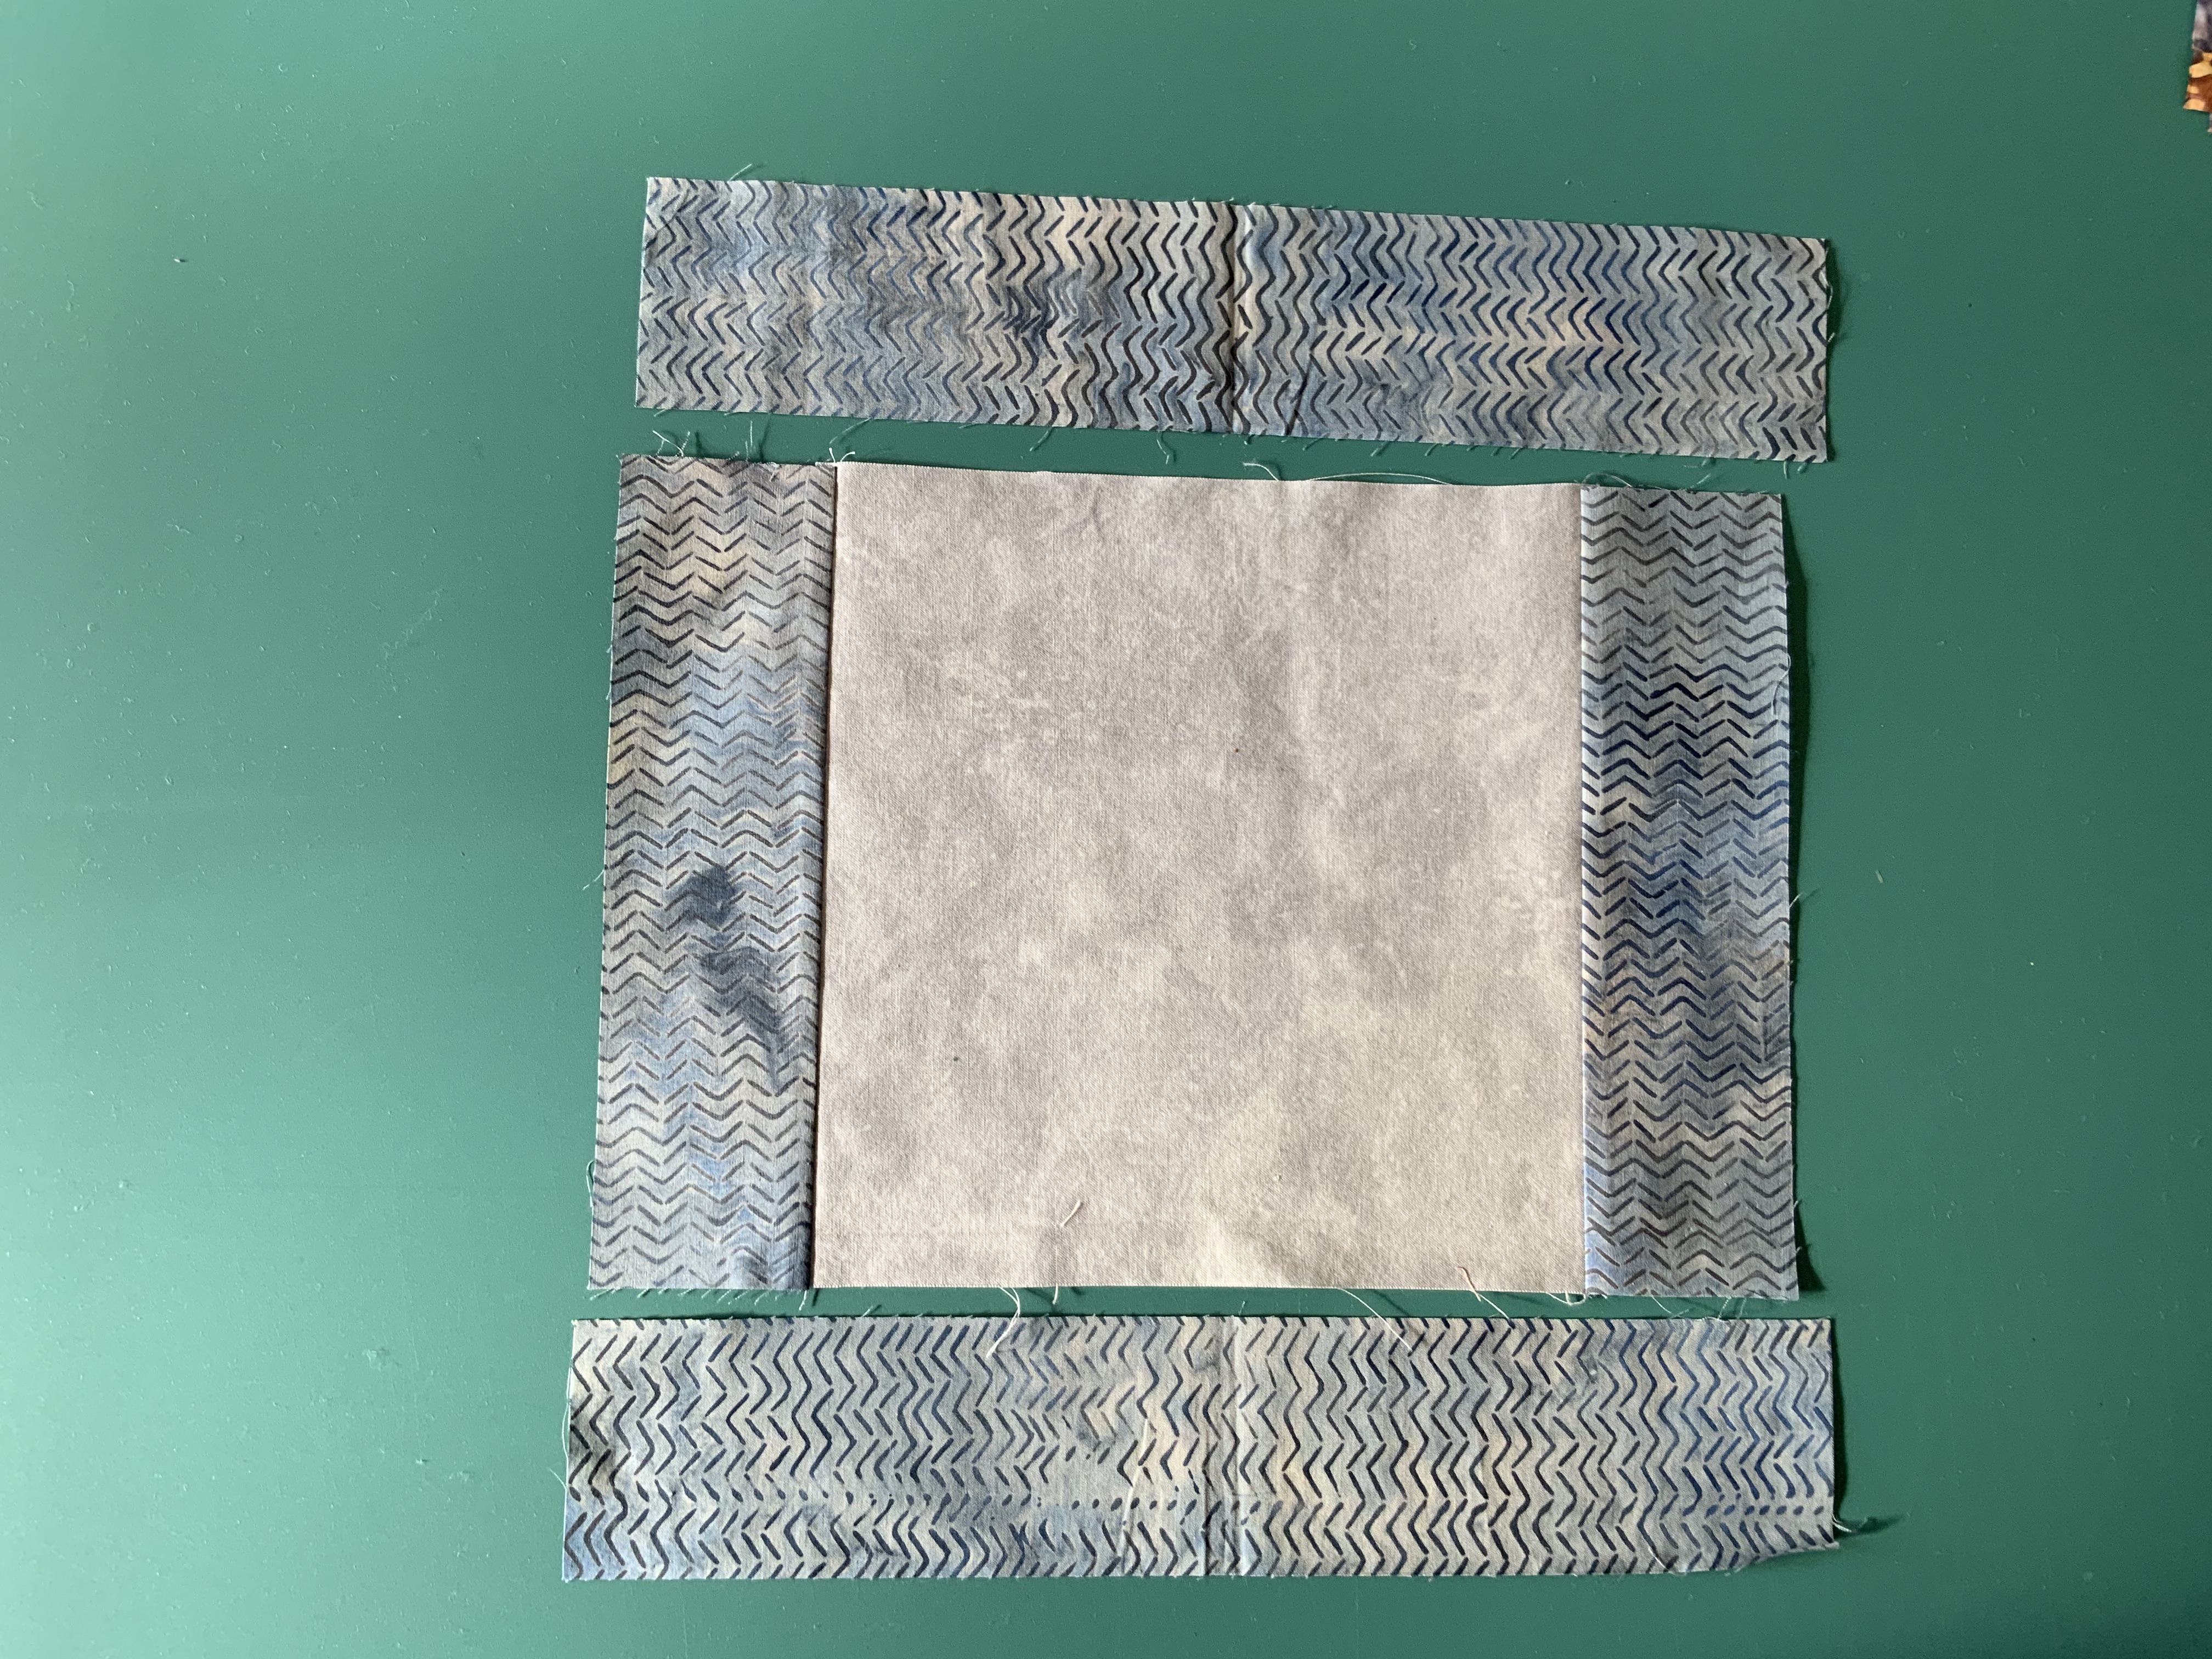
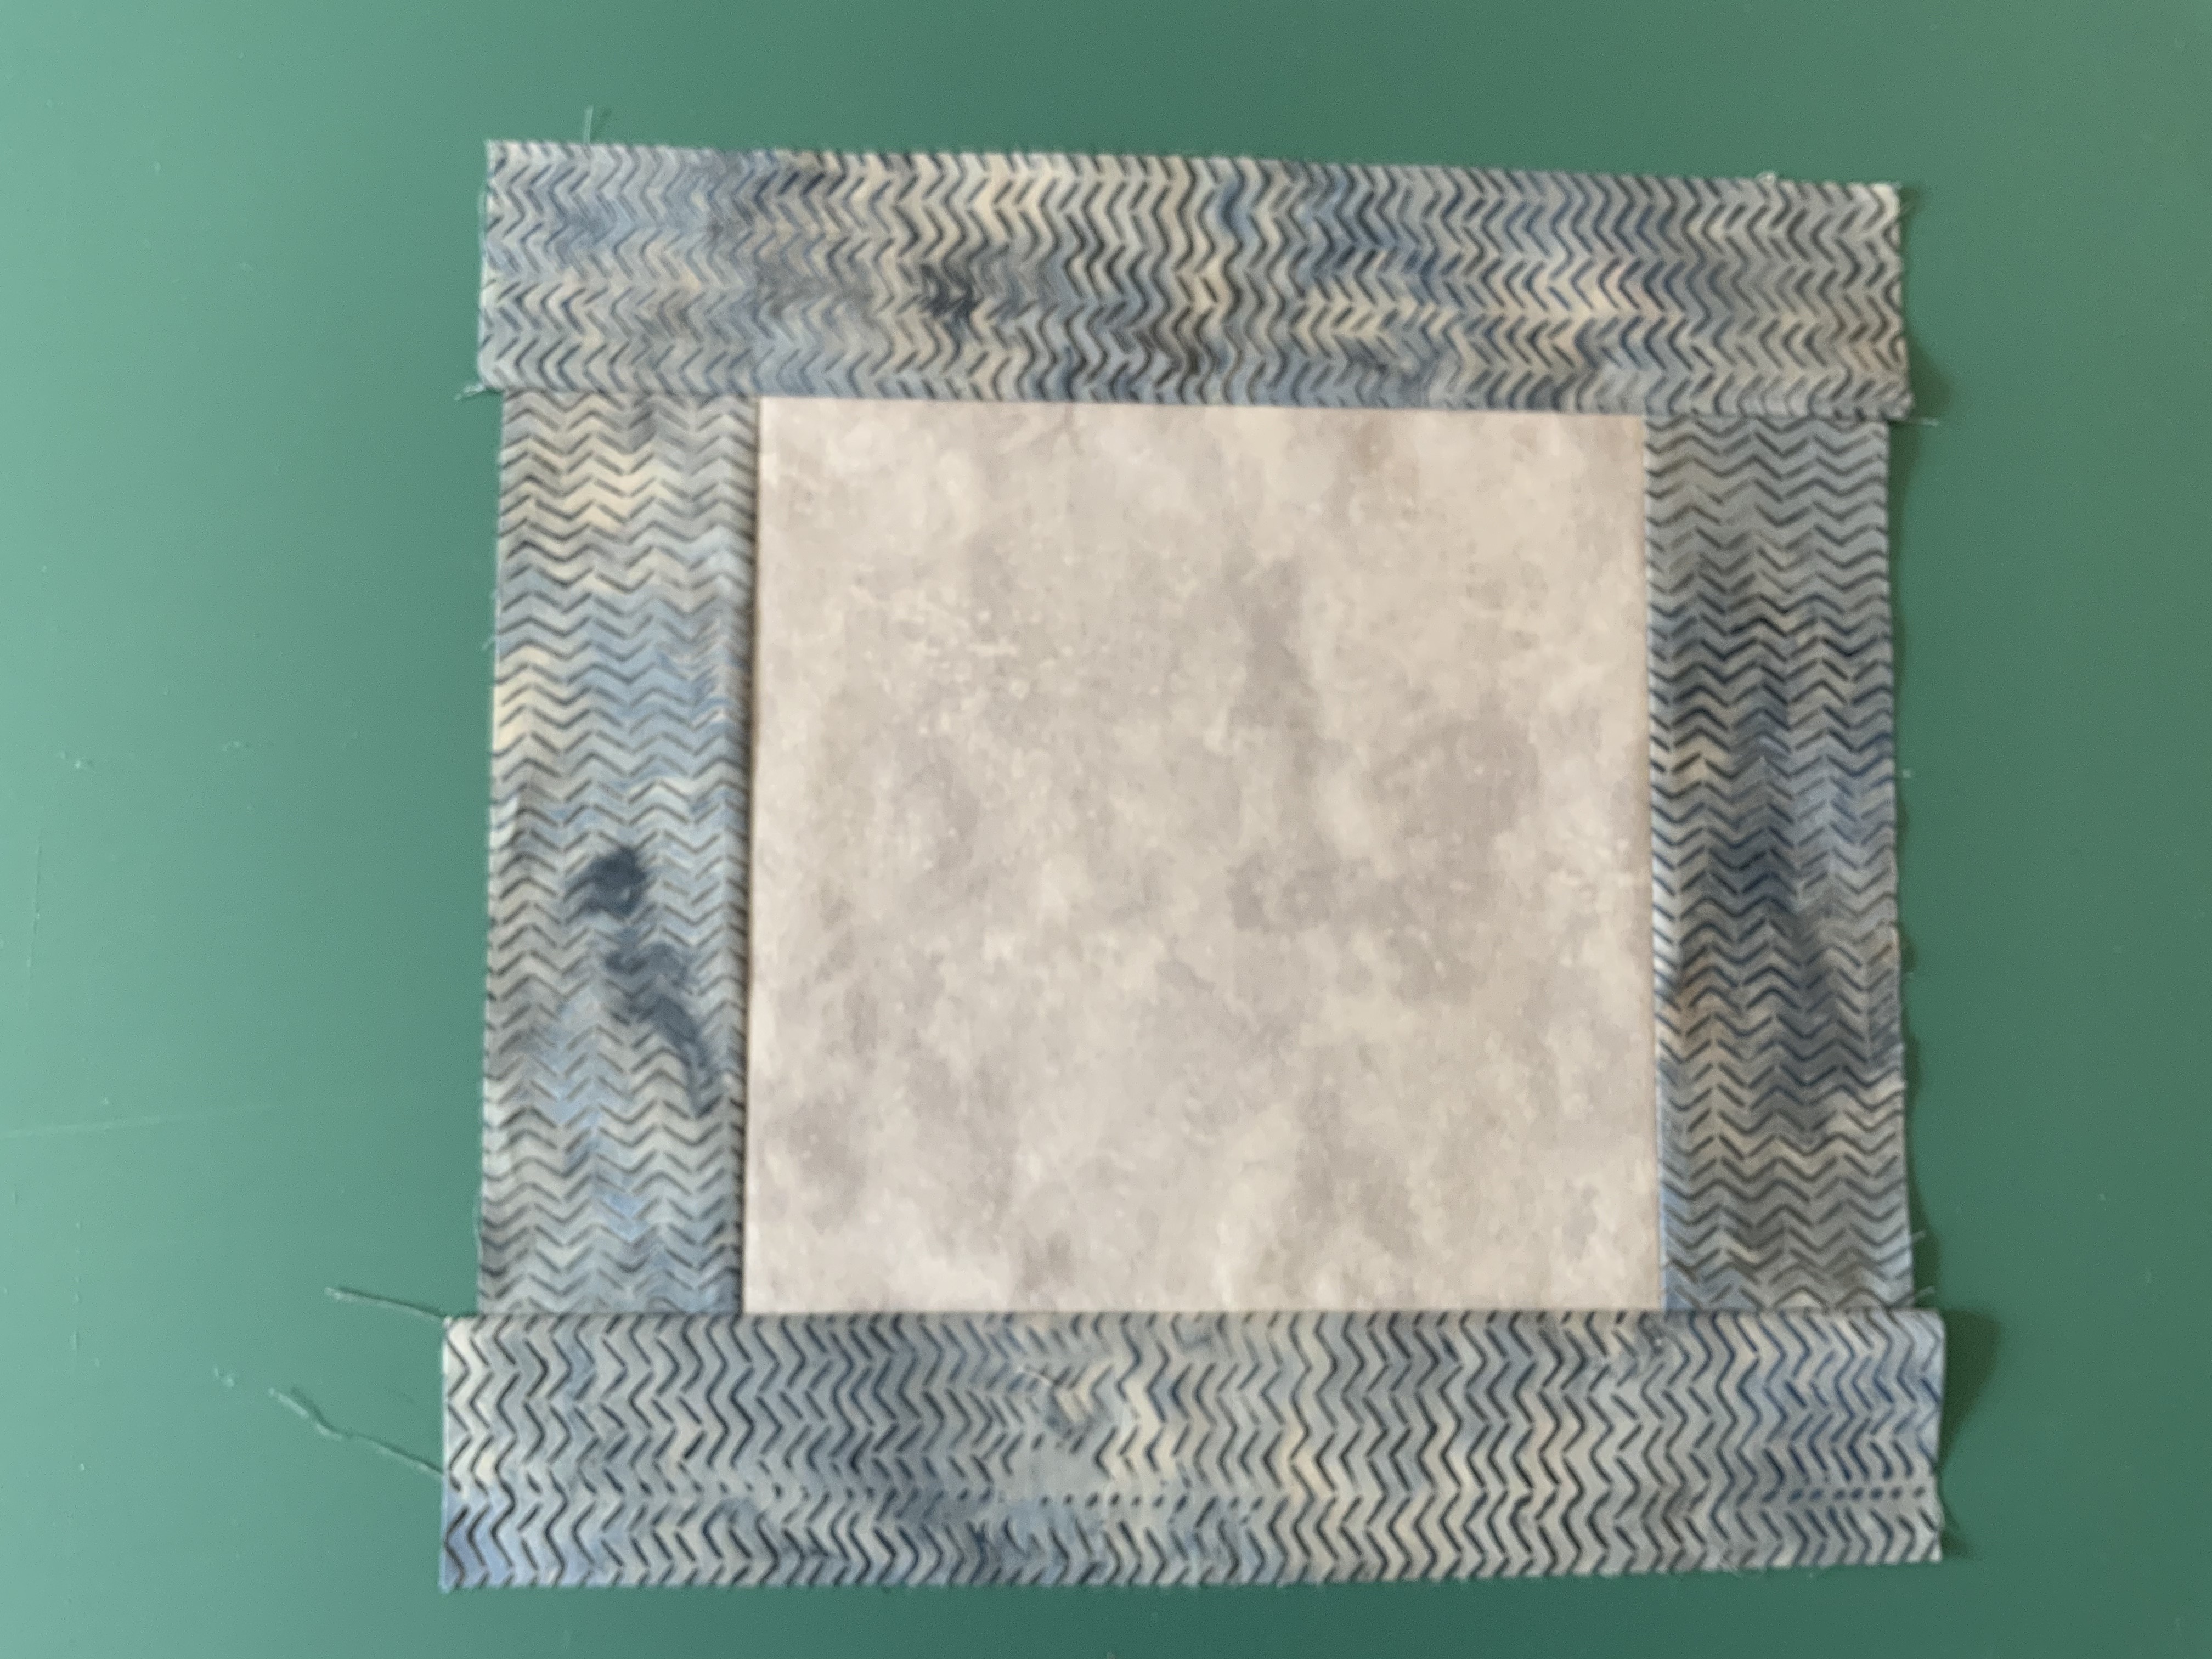
- Pair strip sets with 9″ squares in a pleasing to your eye
- Use one square and one set of strips
- Lay out your pieces where they will be going then assemble each of the blocks

Note: You can save time and thread by sewing the seam on one block then, without cutting thread, sewing the same seam on the other block. Then go back to the first set and sew the second seam, then the second seam on the second set, etc. This is called chain piecing.
———————-
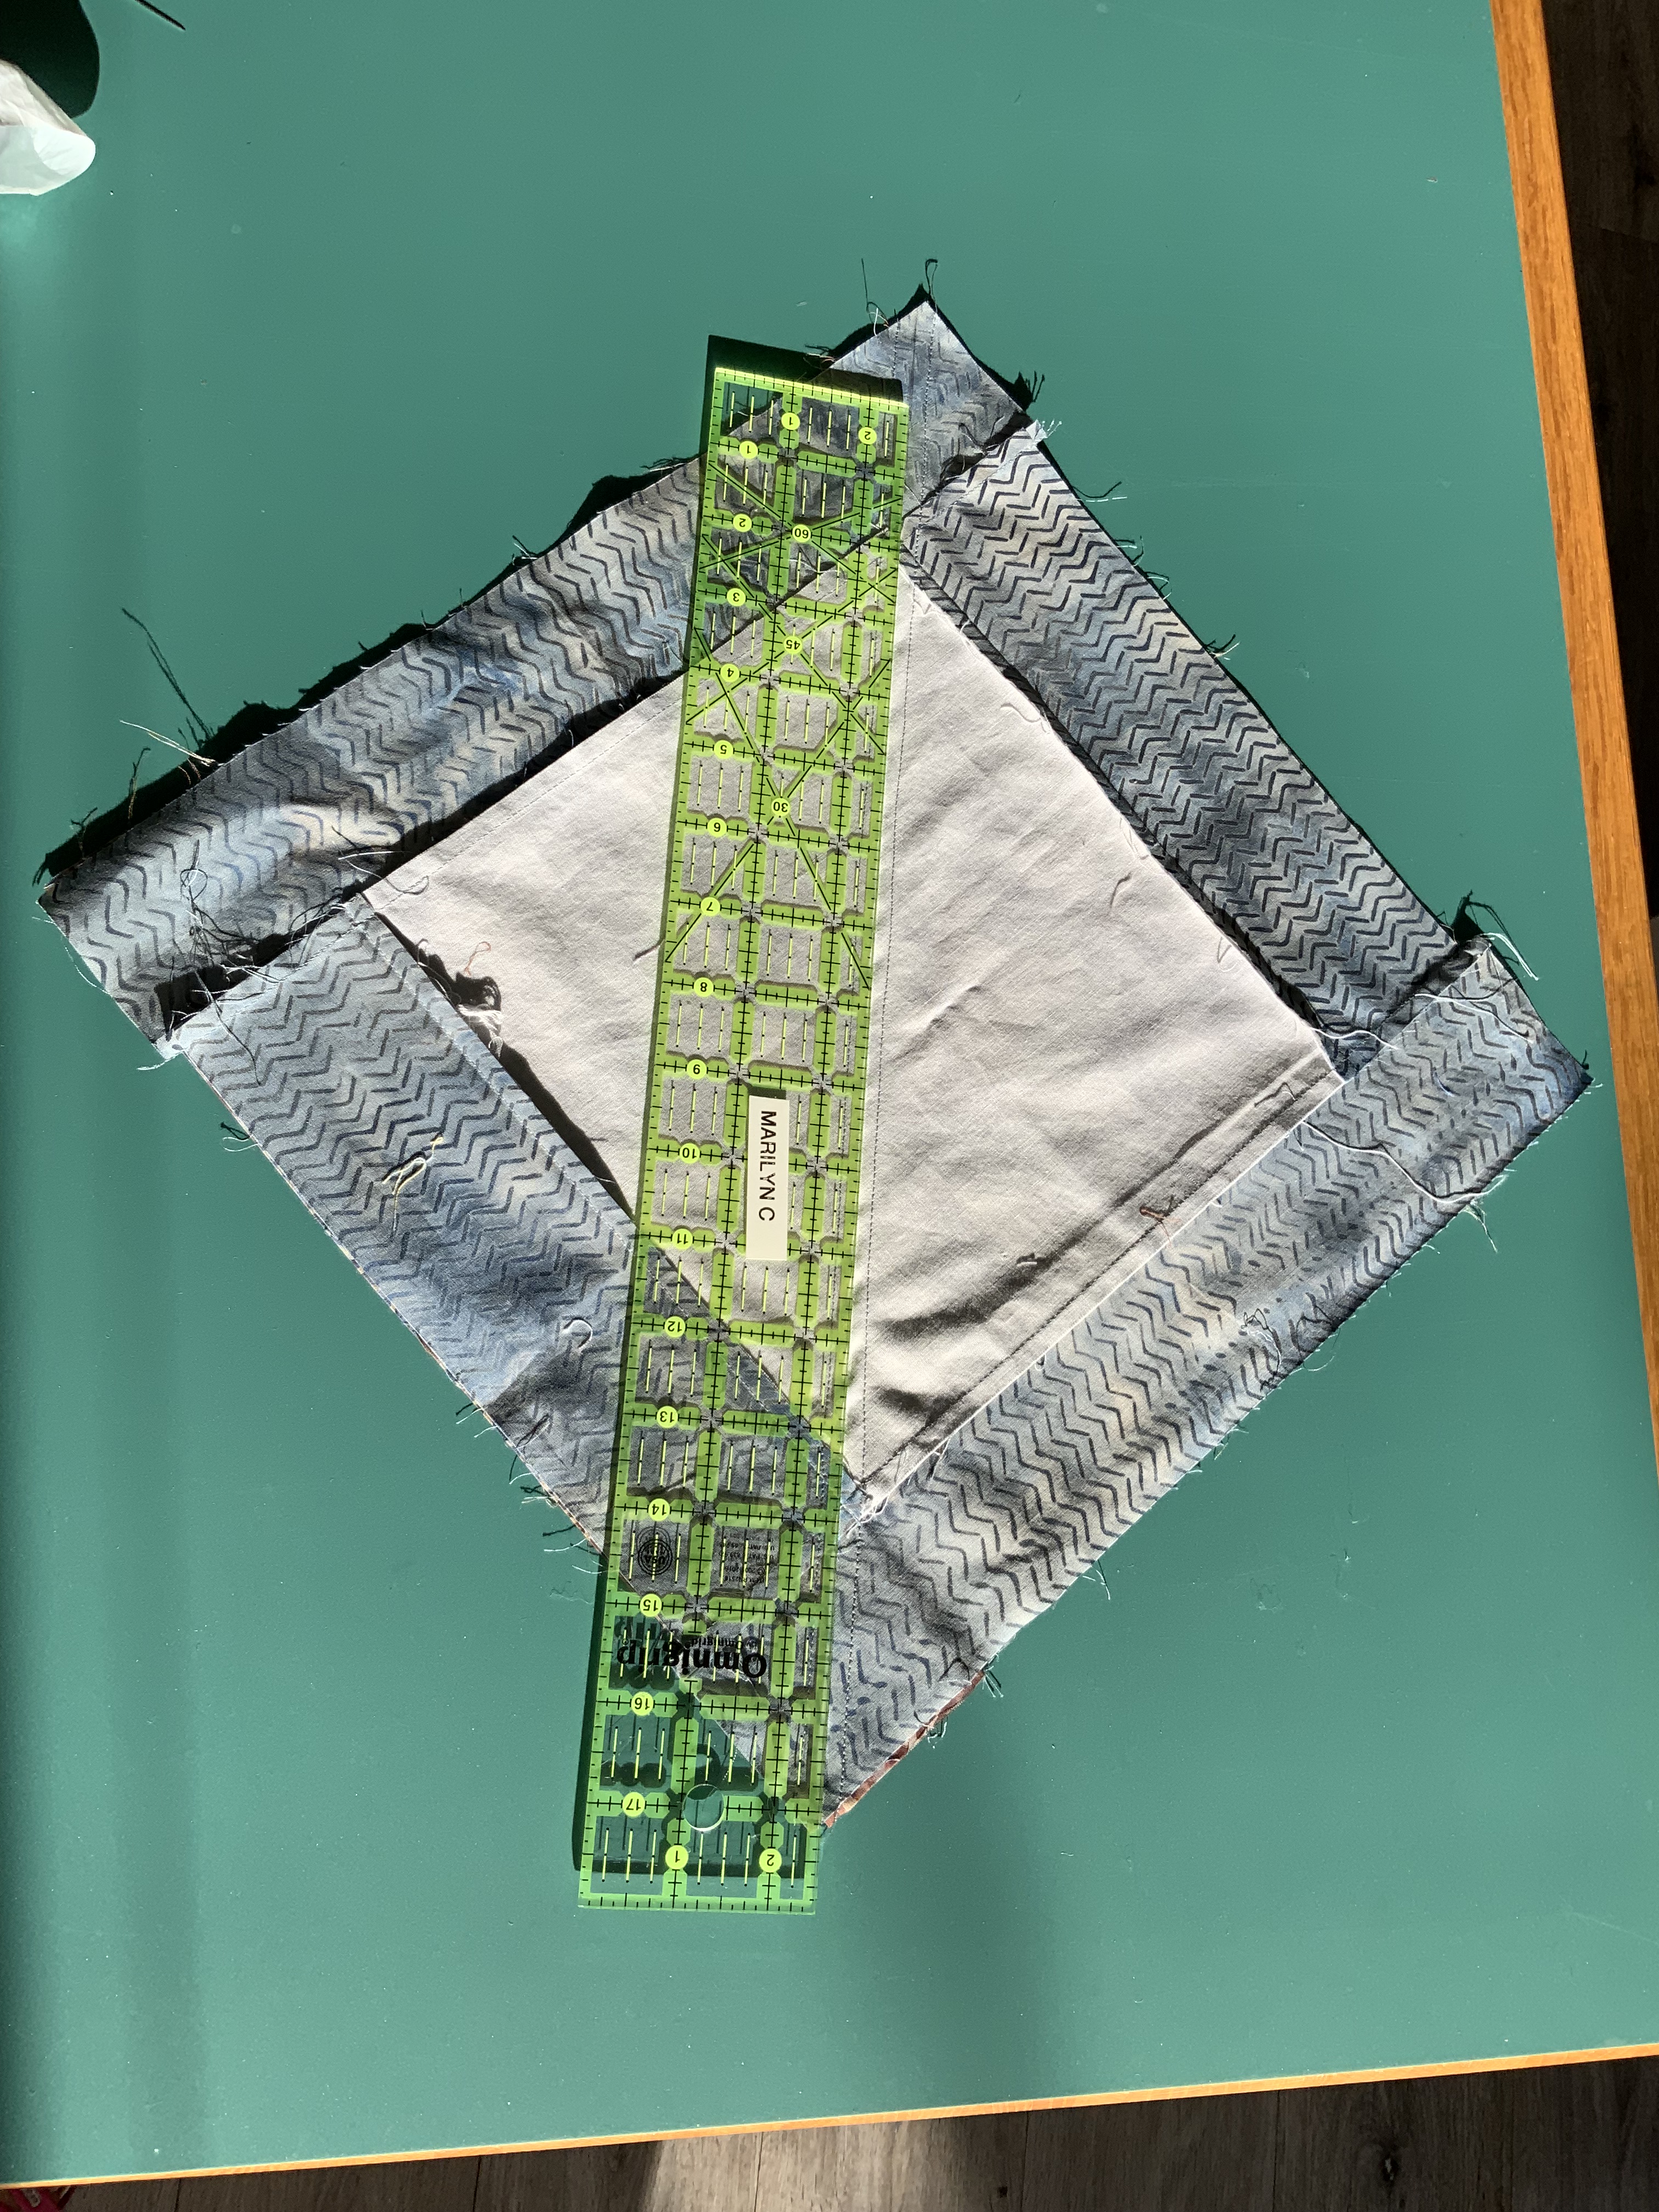
MAKING YOUR BLOCKS INTO HST (Half Square Triangle) BLOCKS
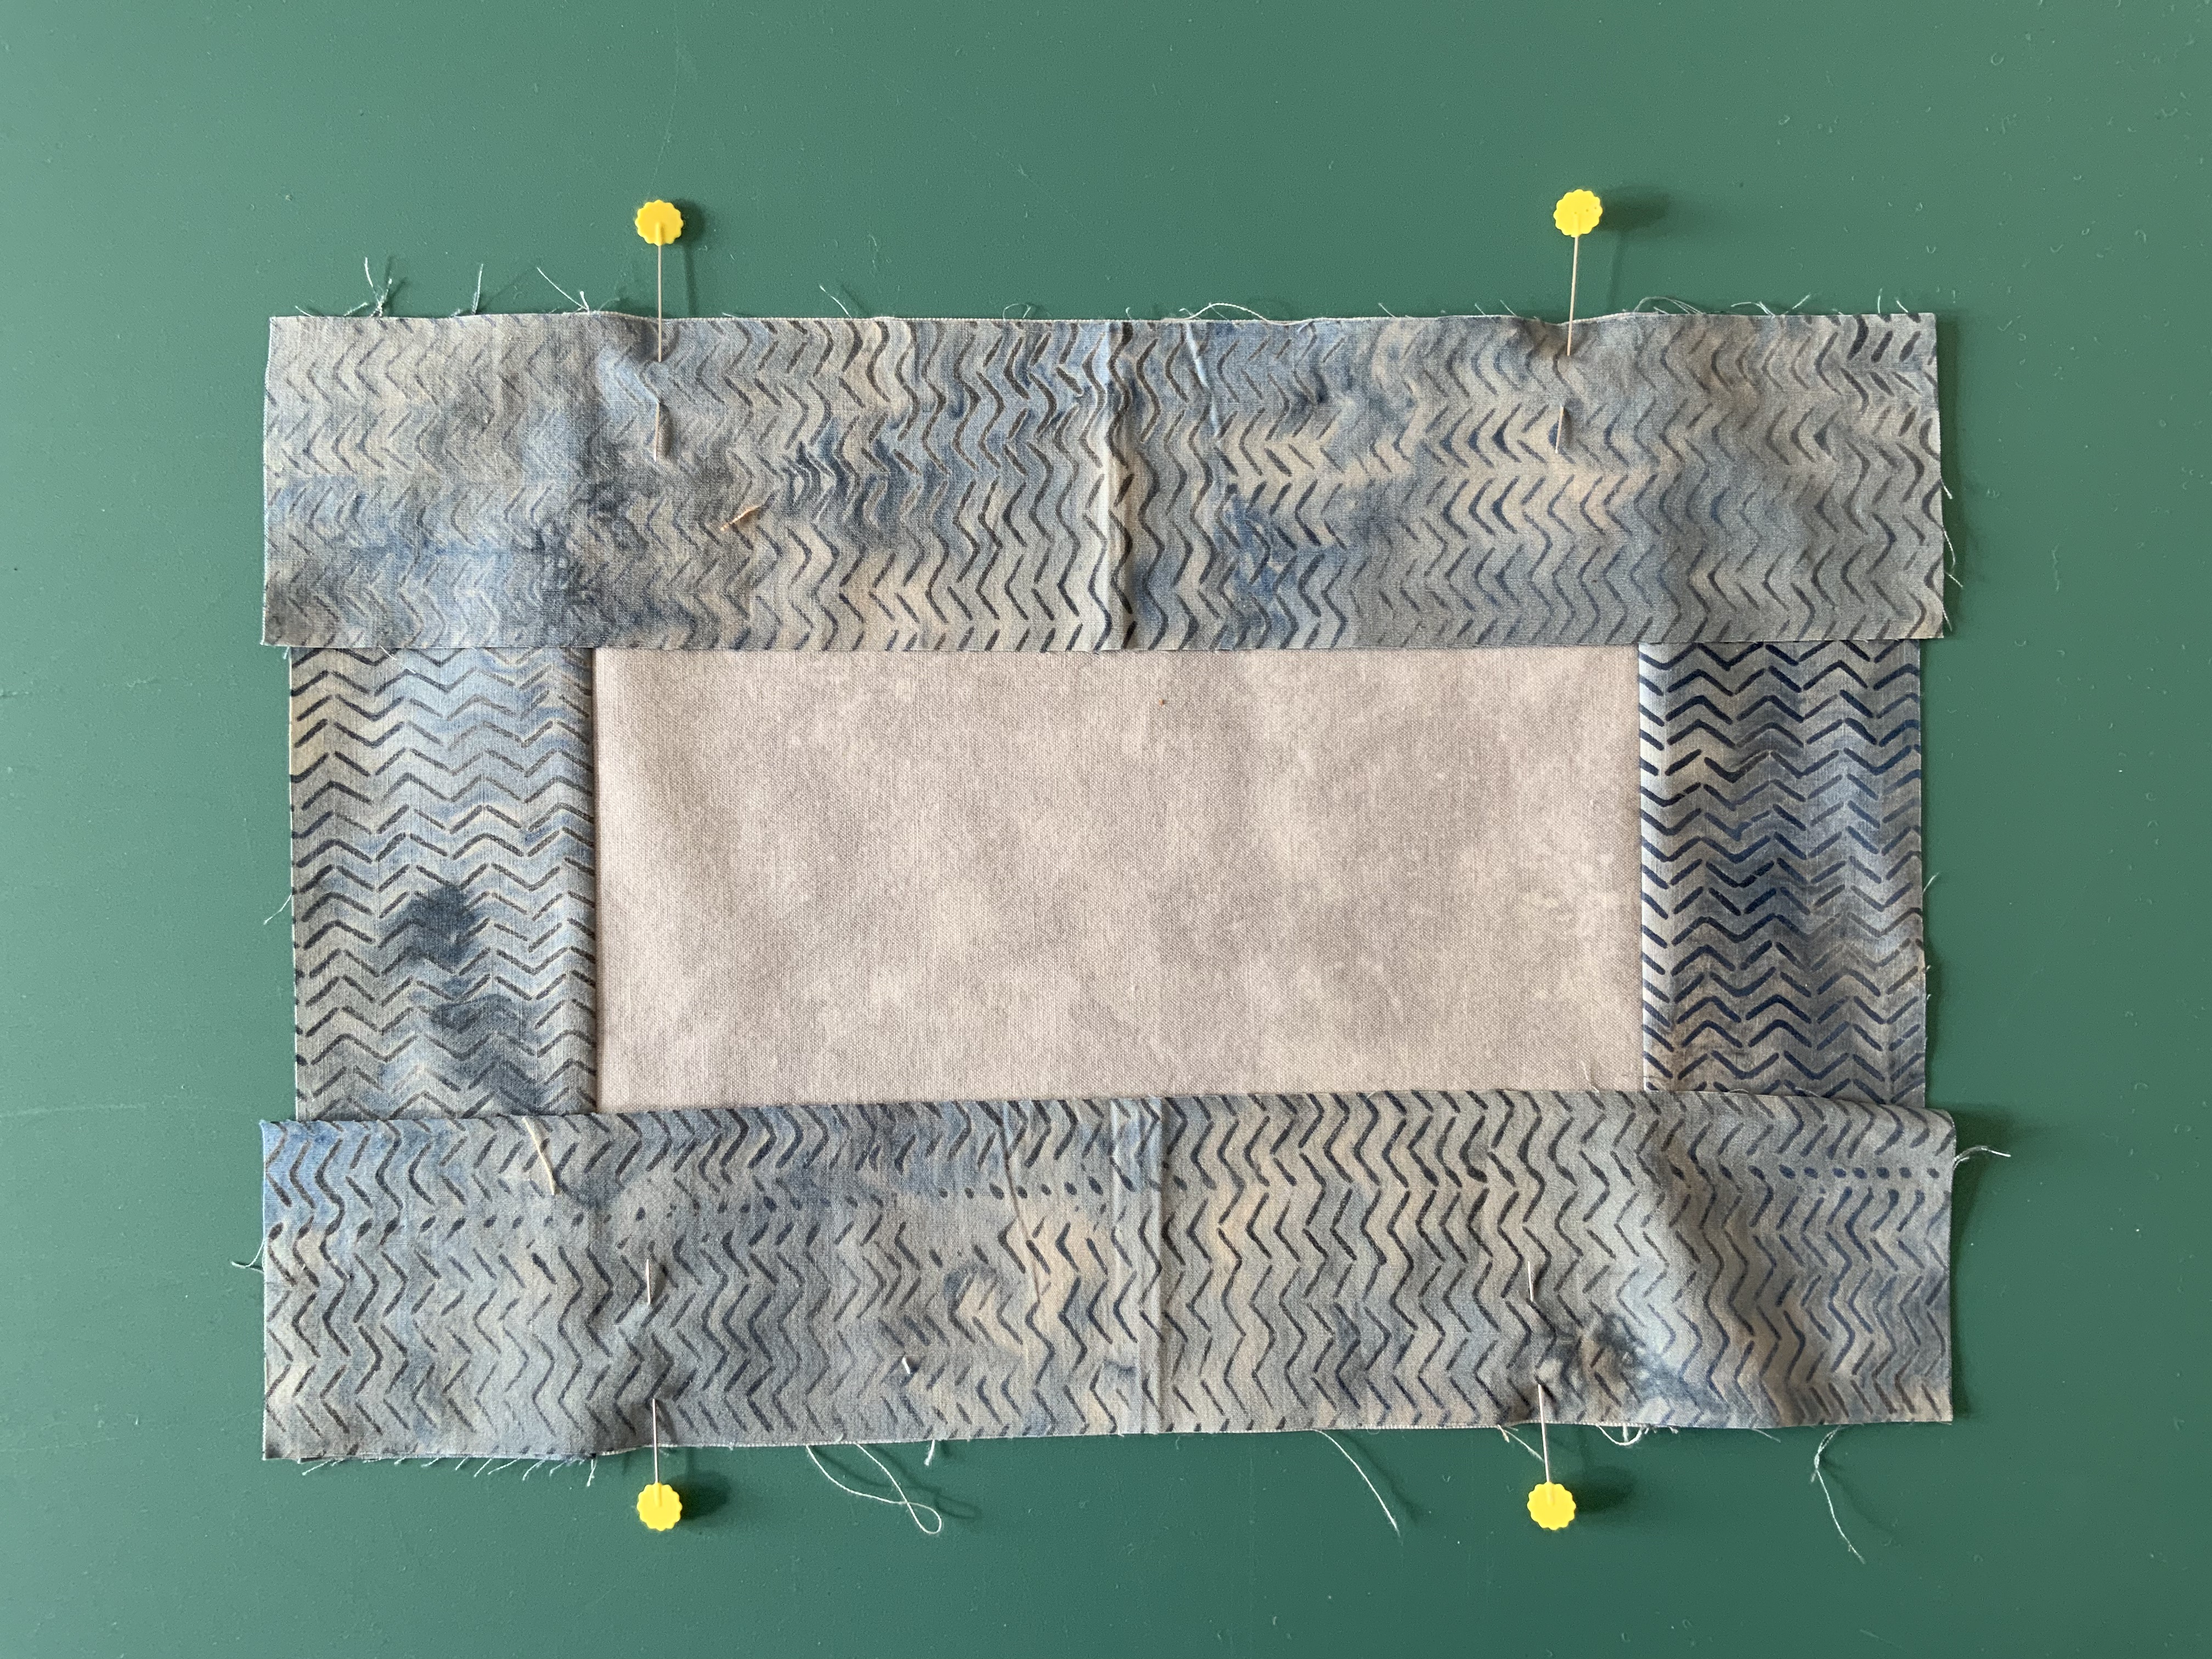
Look at the blocks you made then decide which ones you would like to pair together.


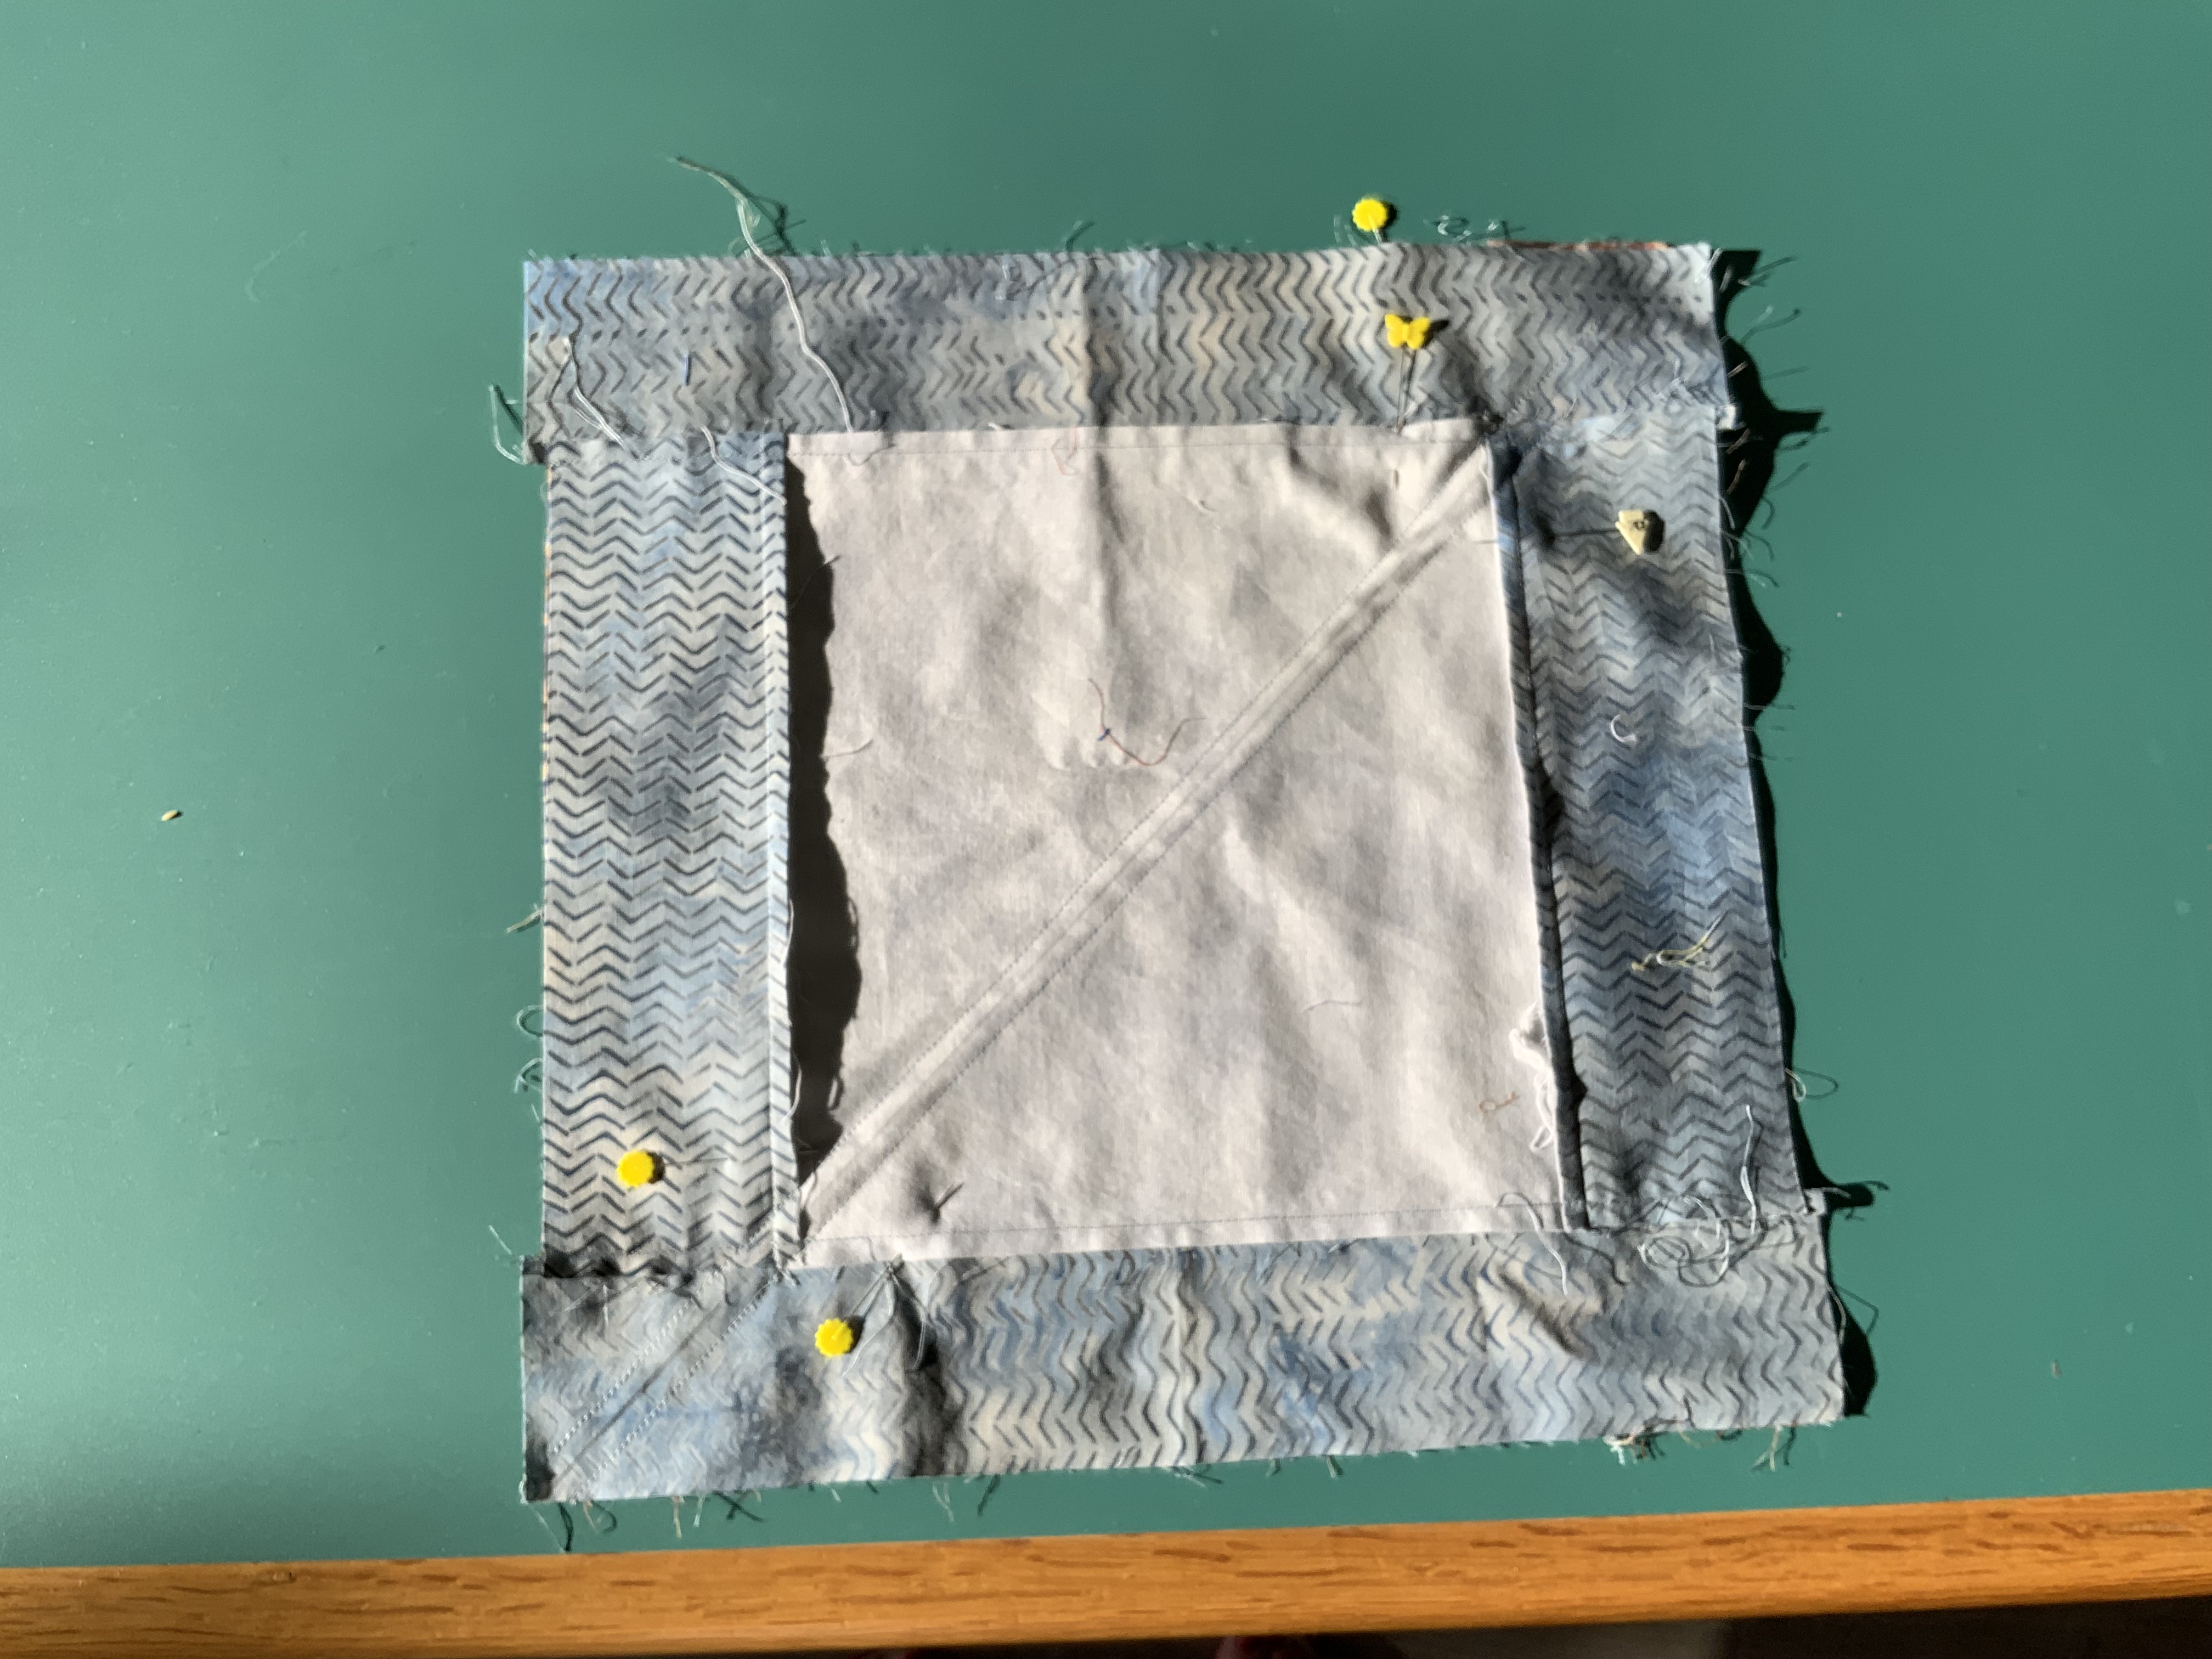
In this example the grey is a short strip laying on a long strip of the brown/blue print fabric.
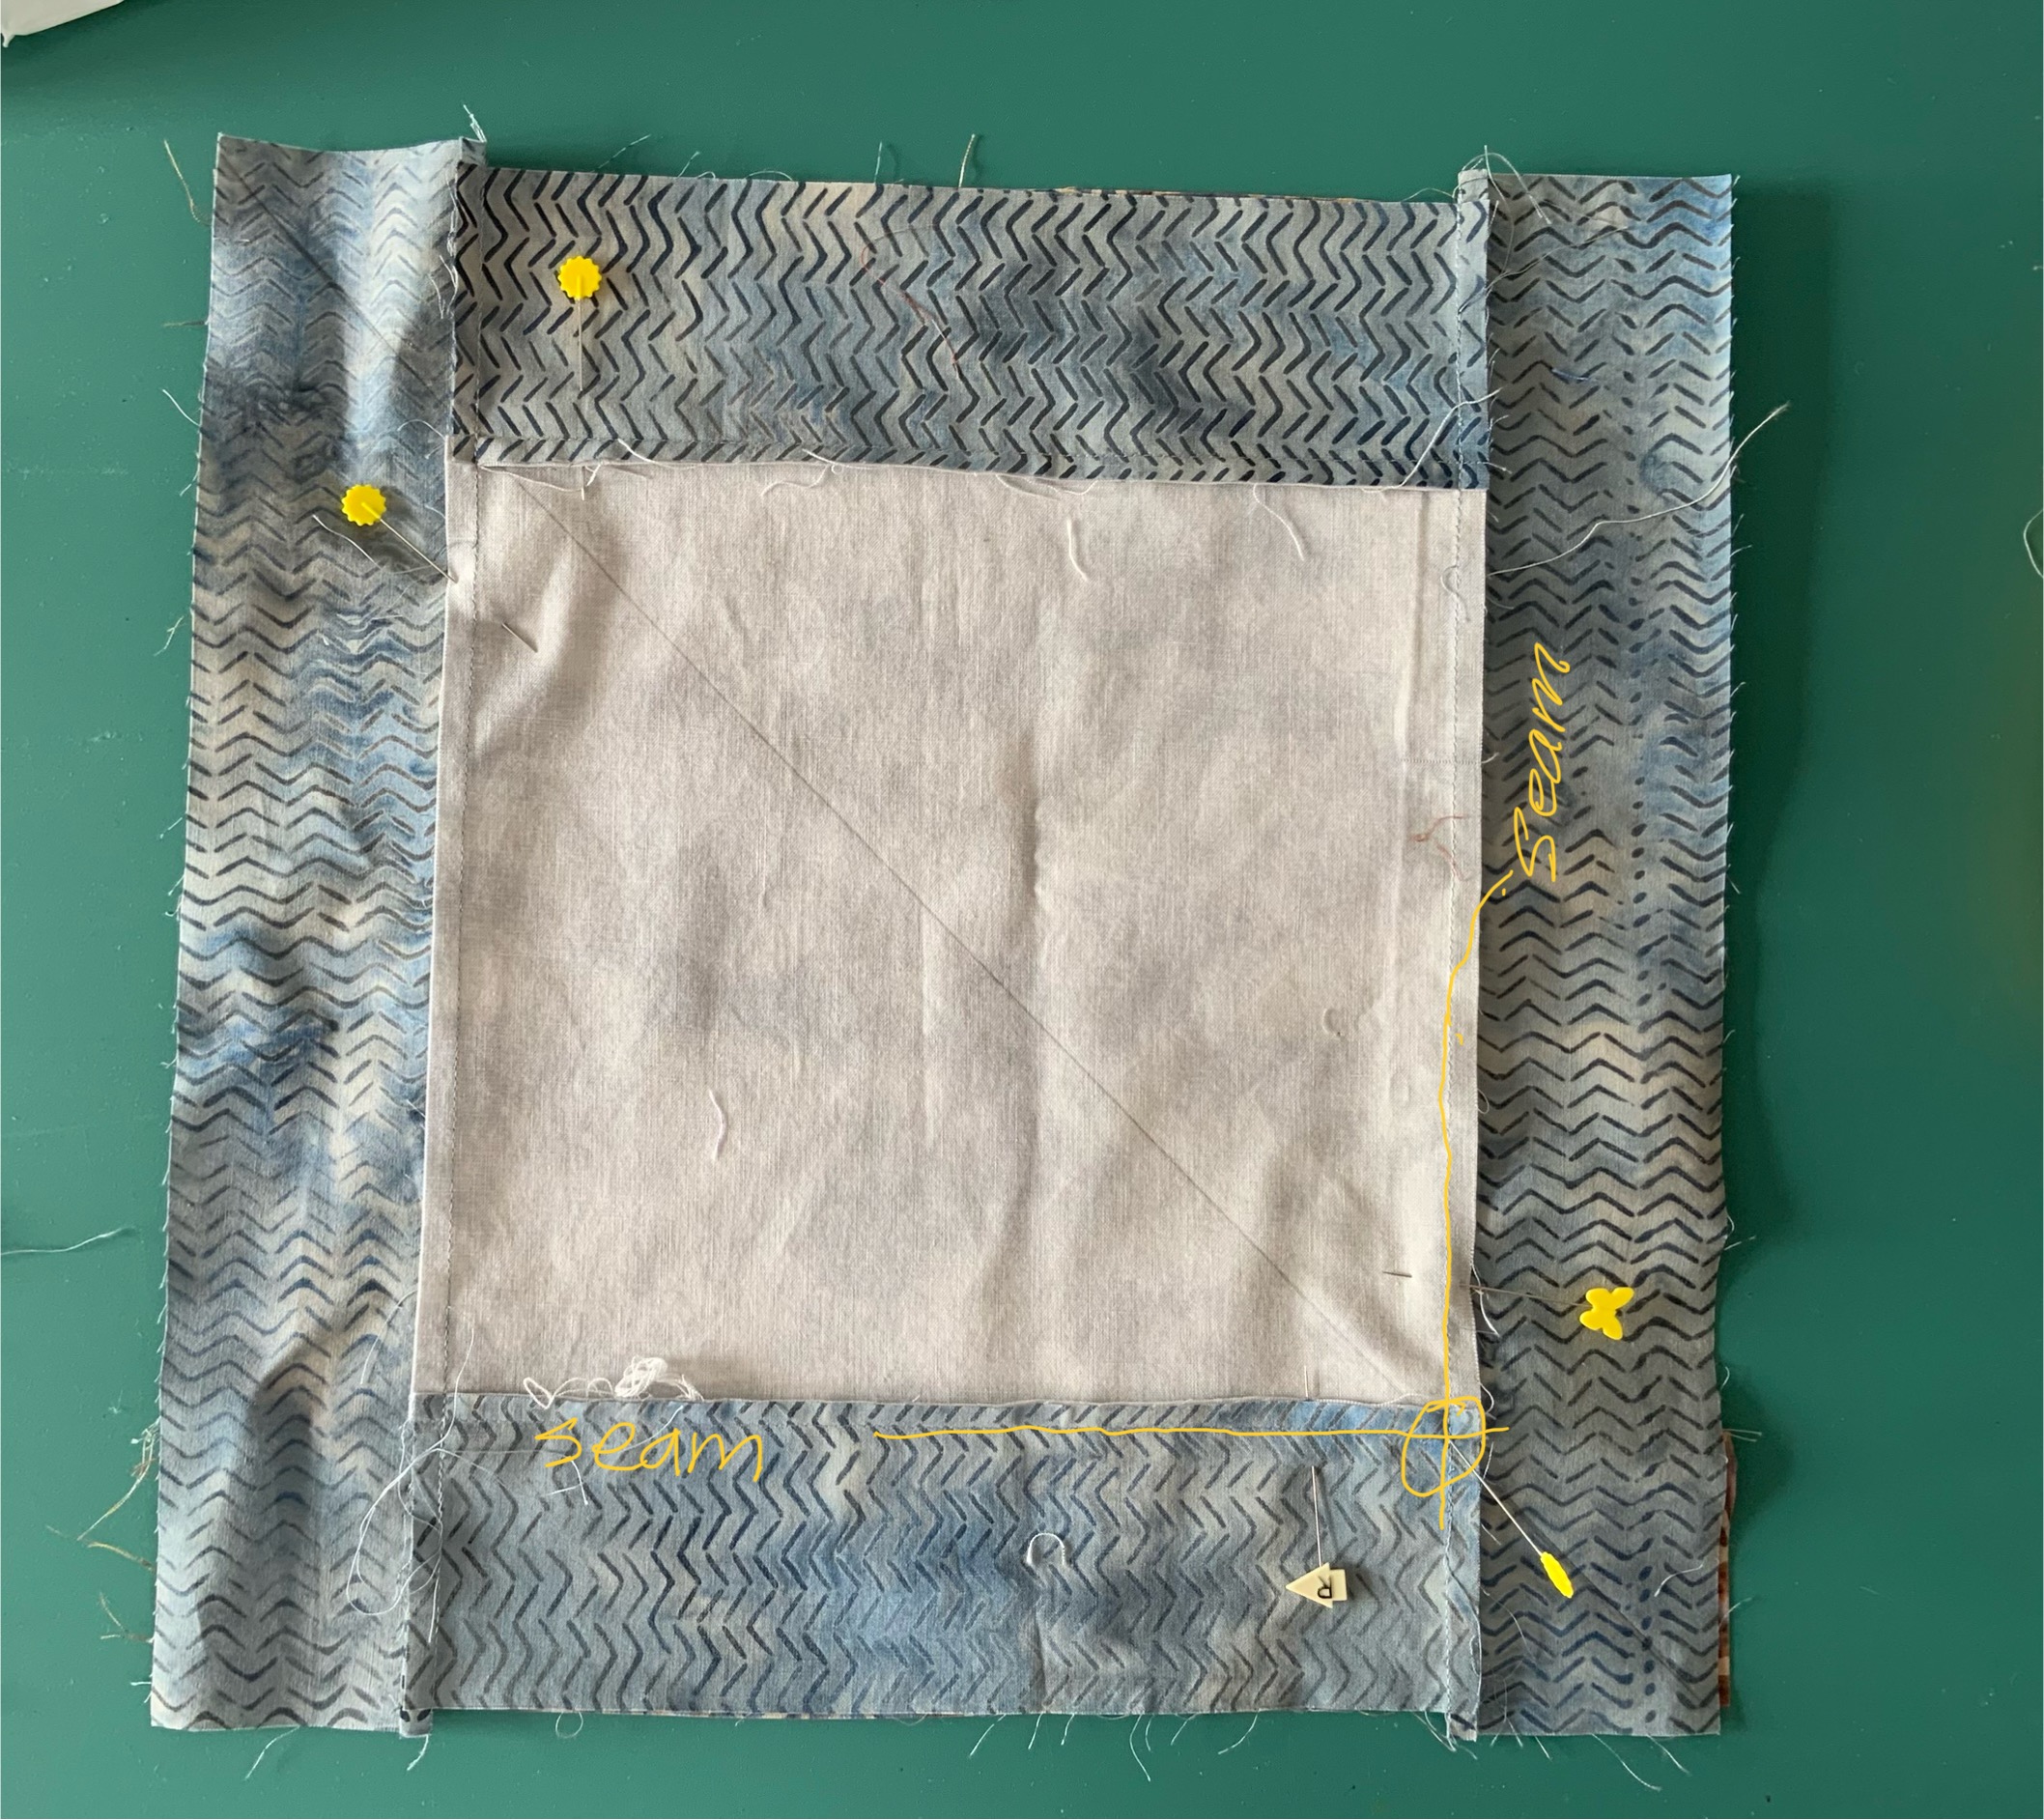
These points need to be lined up with the same points on the partner block. I did this with the pin sticking into the corner. Peek under the corner and find the corner of the partner and put the pin through it. Wiggle it and match the corners.
Then put pins about an inch away from the corner along the seams. Feel the seam to tell if they meet. They nest, that is, fit together seam to seam with their seams folded away from each other.
Hint: Other helpful pins would be in the middle of each of the triangles of the centre square. It helps to hold the piece stable when you do the sewing in the next step.